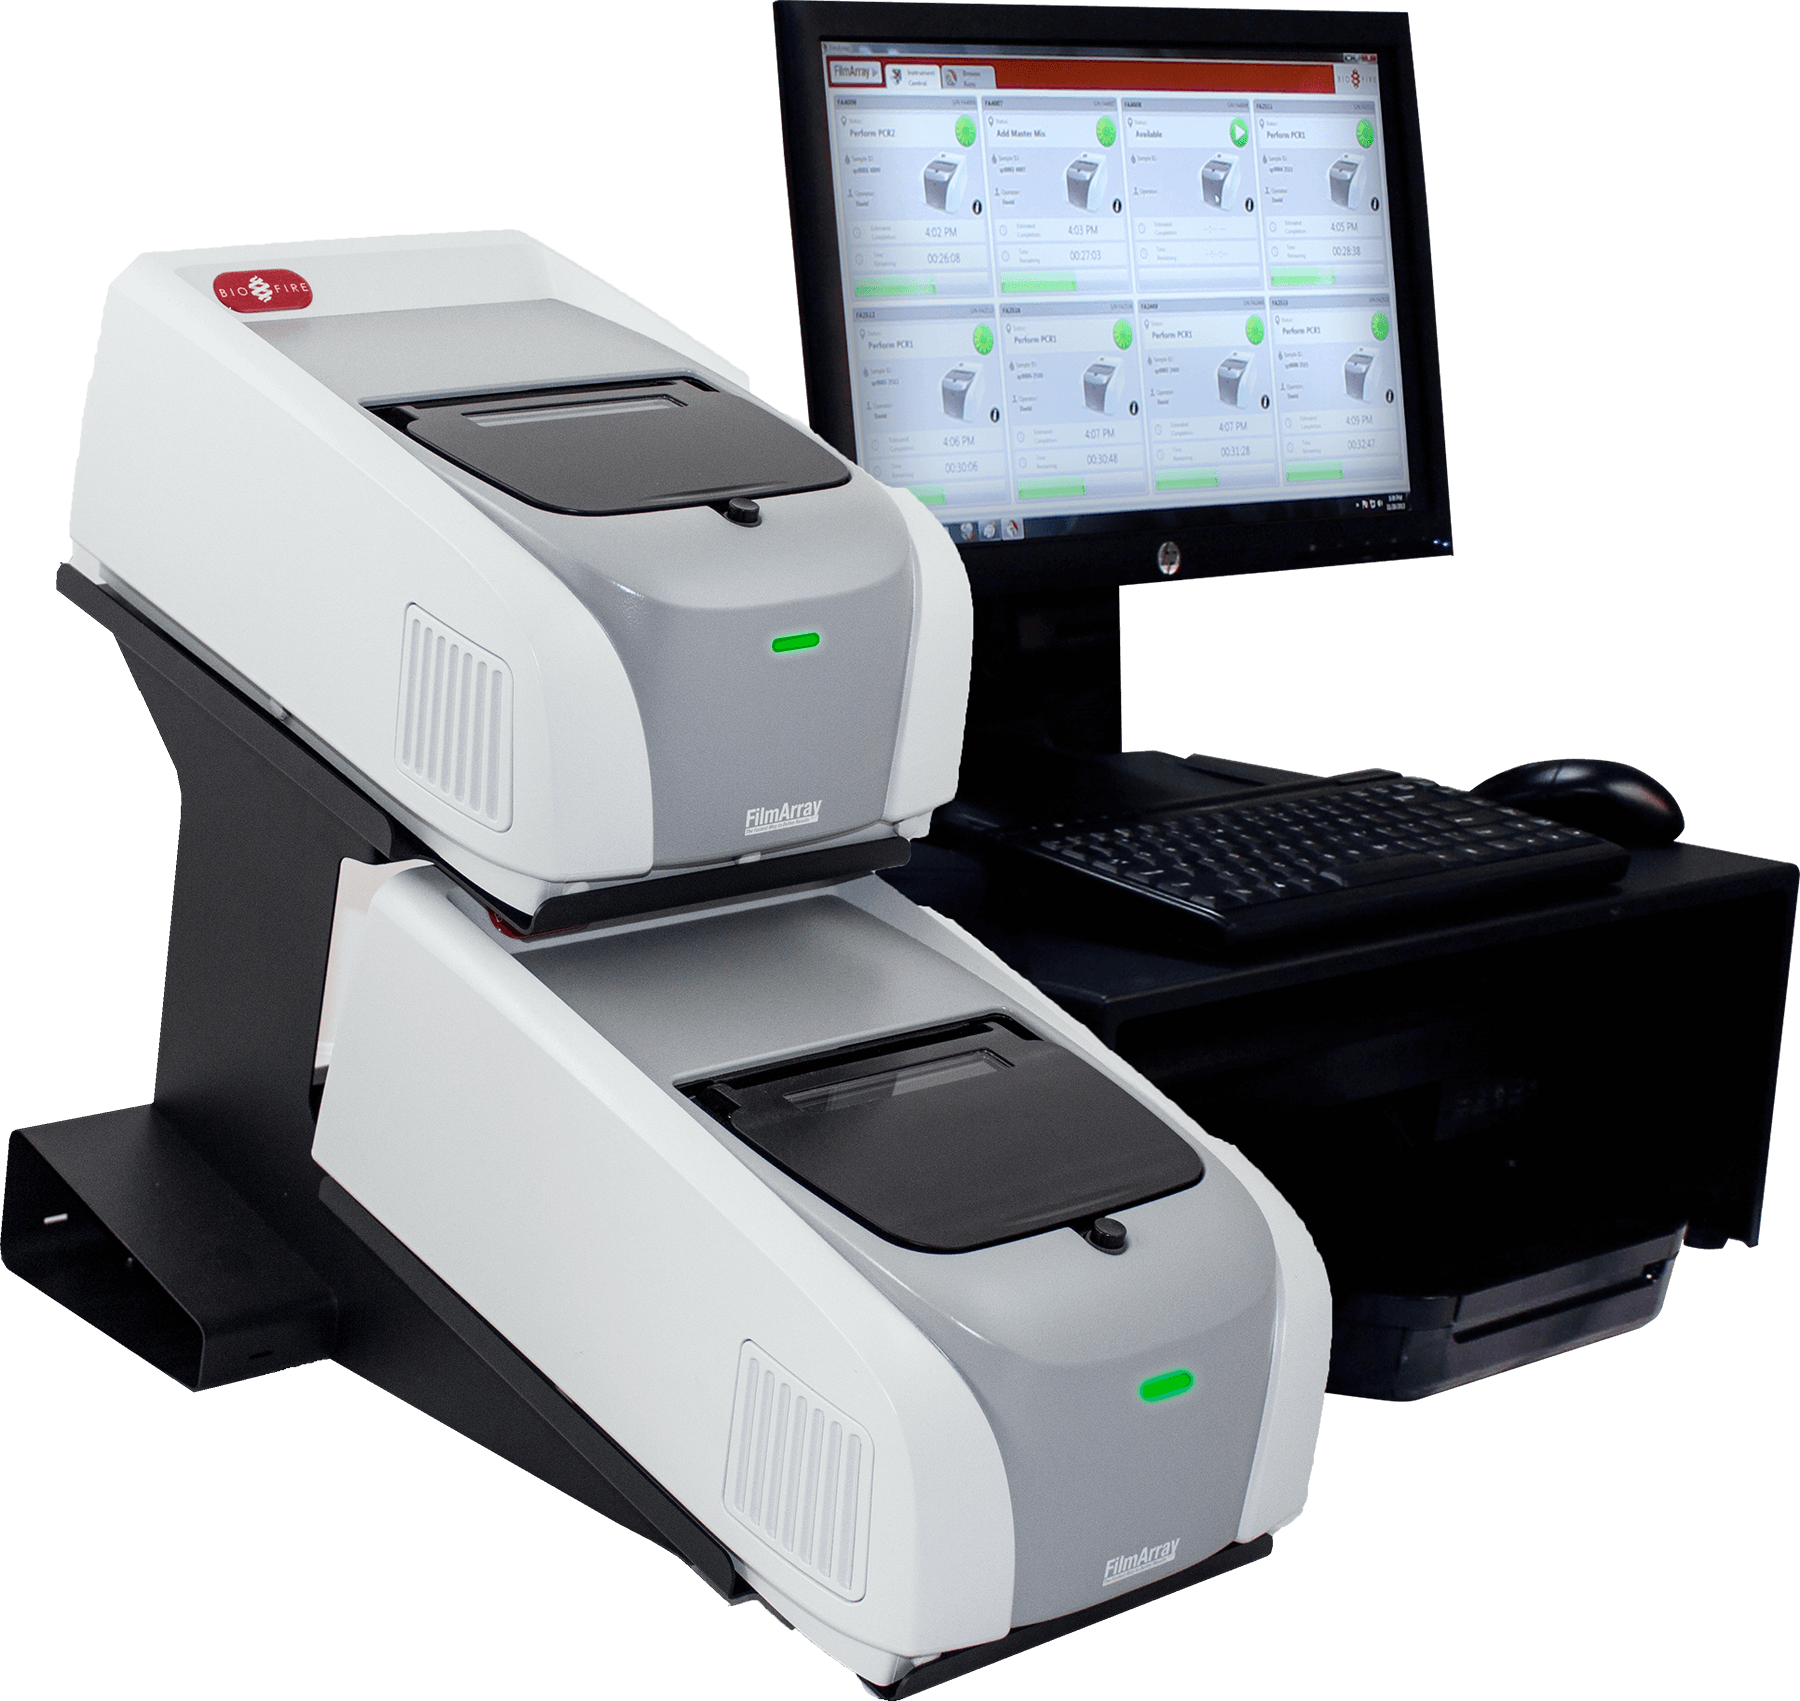
BioFire® FilmArray® System FAQ

Answers from BioFire Customer Technical Support

As part of an ongoing management program, specific steps should be taken to preserve the functionality of the BioFire FilmArray System and to ensure continued efficient use in the laboratory. The BioFire Customer Technical Support team has compiled answers to some of the most frequently asked questions to assist in this process.

Product availability varies by country. Consult your bioMérieux representative.

What is syndromic testing? What are the advantages of the syndromic approach?

Many infections present with similar signs and symptoms. But today’s targeted infectious disease diagnostics limit testing to only the most common pathogens associated with a clinical syndrome. This leaves most infections undiagnosed and leads to additional downstream testing, patient dissatisfaction, and compromised patient care.

BioFire’s syndromic approach to infectious disease diagnostics is changing all of that.

The syndromic approach is a symptom-driven diagnostic method that combines a broad grouping of probable pathogenic causes into a single, rapid test. This allows physicians to easily choose the right test, the first time.

Our innovative team leads the industry in infectious disease diagnostics and provides molecular solutions that lessen the time to medical results, empower healthcare professionals to make better diagnostic decisions, and lower healthcare costs. We are committed to improving the quality of life for everyone, everywhere, every day.

Where can I find Instructions For Use (IFU) and other panel-specific documentation?

You can find Instructions for Use (IFU), Operator’s Manuals, and other relevant product documents at https://www.biofiredx.com/support/documents/ under Instructions for Use and Manuals. If you have any questions or concerns, please reach out to our Customer Technical Support team.

Where can I find BioFire training videos and webinars?

BioFire has created several videos to aid in training and operation of BioFire® FilmArray® Systems. You can find these on the main BioFireDx.com page under the Video Library section: https://www.biofiredx.com/support/video-library/

Where can I find Certificates of Analysis?

Should you require a Certificate of Analysis for a pouch kit or an instrument, please reach out to our Customer Technical Support team and they will happily provide you with one.

Does BioFire provide any guidelines for reagent Quality Control (QC)?

Depending on your regulatory body, you may have to perform Quality Control on new lot shipments, on new lots, and/or every 30 days. Ultimately, it is the responsibility of the laboratory director to determine the appropriate QC/verification protocol to follow. Please check with your regulatory body for your accreditation requirements. Please refer to the Individualized Quality Control Plan (IQCP) Risk Assessment section, Recommended QC Frequency, and Establishing QC Equivalence.

Please contact our Customer Technical Support team if you would like a copy of the IQCP Risk Assessments for the panels you are running.

Where can I find research and abstracts on BioFire products?

Research articles related to BioFire products can be found on the main BioFireDx.com page under Research: https://www.biofiredx.com/research/

Who do I contact for additional training or for help bringing on a new panel?

Should you require additional training or need assistance bringing a new panel online, please reach out to our Customer Technical Support Team at:

What does BioFire recommend for verification of loaner, replacement, and repaired instruments?

Ultimately, it is the responsibility of the laboratory director to determine the appropriate verification protocol to follow. However, if it becomes necessary to verify the performance of a loaner or repaired instrument, the following protocol may serve as a guideline:

  • Select a few samples and/or proficiency samples (any combination of positives and negatives) previously tested on the BioFire® FilmArray® System. The laboratory director should determine the appropriate number of samples to test. Two to six samples may be sufficient. Proficiency samples should not be pooled or diluted.
  • Test the selected specimens/samples on the loaner or repaired instrument and document the results.

BioFire® FilmArray® 2.0 System


If I need assistance with my instrument, who should I contact?

Should you have a question regarding your instrument, please reach out to Customer Technical Support at:

How do I find the serial number on the BioFire 2.0 Instrument?

The serial number for the BioFire 2.0 Instrument can be found on the backside of the instrument on a white label. The serial number is preceded by a boxed “SN”. If your label is illegible, damaged, or missing, call customer support.

How do I find the serial number on the BioFire 2.0 System Computer?

The serial number for the computer attached to a BioFire 2.0 System is printed in white on the side of the CPU. If your label is illegible, damaged, or missing, call customer support.

What should I do in case of an instrument error?

In the rare instance of an instrument error, contact Customer Technical Support with the instrument serial number (starts with FA or 2FA) and the error code at:

How do I find instrument error codes?

  • In the Browse Runs tab, highlight the run you wish to view.
  • Right click, and in the drop-down menu select Show Run Details.
  • A new tab will open; navigate to the Errors section and look for an error code.
  • The error codes typically follow the formatting of a letter and three numbers.

How do I send run files to BioFire technical support for review/troubleshooting while protecting patient information?

  • Insert a USB flash drive into the BioFire 2.0 System computer USB port.
  • In the Browse Runs tab, search for the desired run file(s).
  • Right click on the run(s) and select Export Anonymous Runs.
  • Save the file to the desktop and then move it to a flash drive (it should be an .adb file).
  • The run can be attached to an email using a computer with internet access (one run file per email please).

By following these instructions you ensure that all PHI (Protected Health Information) is removed from the run data.

What do the lights on my instrument mean?

For detailed instructions please see BioFire® FilmArray® 2.0 System Operator’s Manual.
The light on the front of the BioFire 2.0 instrument shows the status of the instrument. The light around the button indicates the status of the chamber.

What preventative maintenance is required for my system?

BioFire® FilmArray® Instruments have built-in monitoring systems that alert users when maintenance is required, and therefore do not require preventative maintenance. Periodic decontamination is recommended for general maintenance. If you have any additional questions, please reach out to our Customer Technical Support team or see the Operator’s Manual.

Is there a quick way to address instrument communication errors?

  1. Power off the system.
    • While the system is powered off, power cycle the switch box by unplugging it.
    • Wait for 30 seconds and re-connect the power cable before starting your system/ instruments.

  2. Reset cable connections, making sure that all cables are firmly inserted.
  3. Power on the system.

Should you have a question regarding your instrument, please reach out to Customer Technical Support at:

How do I remove a BioFire 2.0 Instrument from my system?

For detailed instructions please see BioFire 2.0 Operator’s Manual

Each instrument can be removed from Instrument Configuration by using the following steps:

  • From the BioFire® FilmArray® Software menu, select Tools → Instrument Configuration. The Instrument Configuration window will open.
  • Find the instrument to remove. Click on the Remove button located next to the instrument. The instrument will disappear off the screen, and a green plus sign will appear in its place.
  • Click the Save button at the bottom left of the window when finished.

How do I add a BioFire 2.0 Instrument to my system?

For detailed instructions please see BioFire 2.0 Operator’s Manual.
The FilmArray Instrument Configuration window enables the operator to add one to eight instruments to a BioFire 2.0 System and configure them.

  • Make sure the BioFire 2.0 instrument is powered on and all cables are correctly connected. The instrument will connect within 10 seconds.
  • From the BioFire® FilmArray® Software menu, select Tools Instrument Configuration. The instrument configuration window will open.
  • Click the Add button from the Instrument Configuration window. The Detected Instruments window will open.
  • Clink the Blink LED button to verify the correct instrument is selected.
  • Click the Add  button. The Detected Instruments window closes automatically after an instrument is selected. The instrument’s icon is not shown in the Instrument Configuration window.
  • Click Save. The Instrument Configuration window will close.

How should I maintain my BioFire 2.0 Instrument database?

Archiving Runs

For detailed instructions please see the BioFire 2.0 Operator’s Manual

  • The BioFire 2.0 database reliably stores up to 8,000 runs. However, as time goes on the available amount of memory available for run data processing will be depleted if existing runs are not archived.
  • BioFire recommends that you archive regularly in small batches in order to minimize disruption to work flow and to avoid performance issues down the line.
  • Failure to archive runs regularly will eventually result in a warning indicating there is an urgent need to archive runs.

To archive runs stored in the BioFire 2.0 database:

  • In the Browse Runs tab, highlight one or more desired runs.
  • Use the Quick Search, Keyword Search, or Advanced Search options to search for particular runs to archive. For more information, see the Search and View Run Data section of the BioFire 2.0 Operator’s Manual.
  • Right-click the highlighted runs to open the Browse Runs context menu.
  • Select the menu item Archive Selected Runs. The Create/Select Archive File dialog is displayed.
  • Navigate to the desired location, select a name for the file, and then click Save.
  • By default the selected runs are saved to a file with extension .faz and a name containing the first and last dates for the set of runs being archived, as well as the name of the computer being used to perform the archive.
  • The software prompts the operator to verify removal of the selected runs from the database. Click Yes to continue or No to cancel the archive process.
  • The software verifies that all runs have been saved to the file and then deletes each run from the database one at a time. A progress dialog will display during the archive.

NOTE: It is recommended that runs be archived in batches of no more than 500. Archiving 500 runs will take approximately one hour to complete.

        • When the process is complete, a final status message “Archive completed normally” is dis­played.
        • Click Close to close the dialog box.
        • The .faz file can be transferred from the computer using a portable media device and stored according to institutional data retention policies.
Restoring Archived files
      • In the Browse Runs tab, highlight a run, right-click the highlighted run to open the Browse Runs context menu, and then select the menu item Restore Archived Runs. The Select Archive File dialog is displayed.
      • Navigate to the desired .faz file(s) and click Open.
      • The Select Archived Runs dialog is displayed. Select the files to restore by clicking All or selecting files individually.
      • Click OK to start the restore process. A progress dialog will display during the restore. When the process is complete, a final status message will be displayed.
      • Whether the operator allows the process to complete or clicks Cancel, it is necessary to click the Close button, when it appears, to close the dialog.

How should I decontaminate/clean my instruments?

For detailed instructions please see Contamination Prevention and Decontamination Technical Note

BioFire recommends a 10% bleach solution for general decontamination. Please see our Contamination Prevention and Decontamination Technical note by clicking the hyperlink above.

BioFire® FilmArray® Torch System


If I need assistance with my instrument, who should I contact?

Should you have a question regarding your instrument, please reach out to Customer Technical Support at:

How do I find the serial number on the BioFire Torch Instrument Base?

The serial number for the BioFire Torch Instrument Base is located on a white label on the right hand side of the instrument. The serial number is preceded by a boxed “SN”. If your sticker is illegible, damaged, or missing, call customer support.

How do I find the serial number on the BioFire Torch Module?

The serial number for a BioFire Torch Module can be found by lifting the magnetically attached front cover and referencing the white label beneath the cover. The serial number is preceded by a boxed “SN”. If your label is illegible, damaged, or missing, call customer support.

Is there a quick way to address instrument communication errors?

  1. Power off the system.
  2. Reset cable connections, making sure that all cables are firmly inserted. If you have multiple instruments connected to an Ethernet switch box (BioFire® FilmArray® 2.0 System)
    • While the system is powered off, power cycle the switch box by unplugging it
    • Wait for 30 seconds and re-connect the power cable before starting your system/ instruments.

Should you have a question regarding your instrument, please reach out to Customer Technical Support at:

What should I do in the case of an instrument error?

In the rare instance of an instrument error, contact customer support with the instrument serial number (starts with TM or TB) and the error code at support@biofiredx.com 1-800-735-6544 or 801-736-6354 option 5.

How do I find Instrument Error Codes?

  • Select Browse Runs in the top menu.
  • Use the search icon to search for runs.
  • Select a single run from the table → Select View Report → Click Actions → Select Show Run Details → Look for error code.

How should I maintain my BioFire Torch Instrument database?

Archiving Runs

For detailed instructions please see the BioFire Torch Operator’s Manual

  • Insert removable drive(s) into an available USB port on the front of the BioFire Torch System Base. One or more removable drives, including USB flash drives, external CD/DVD drives, and external hard drives, can be connected to the USB ports on the System Base.
  • Navigate to the Settings menu from the toolbar.
  • Select Archive.
  • Select Archive Runs to display a calendar.
  • Select a date parameter on the calendar. This parameter means that all runs on or before that date will be archived.
  • If more than 100 runs are selected, archived runs are sorted into files containing 100 runs each.
  • Select Next to choose the location and filename for the archived runs. If multiple removable drives are connected to the USB ports on the BioFire Torch Base, select a destination device.
  • By default, runs are saved to a file with the extension .faz. Filenames default to a name containing the date parameter and the name of the System Base being used.
  • After selecting the file name, a message displays indicating that the selected runs will be deleted from the database.
  • Select Yes to launch the archiving process. The date and time of the start will be recorded in the Archive log.
Restoring archived run files

For detailed instructions please see the BioFire Torch Operator’s Manual

  • If a run file must be accessed after it has been removed from the database, the runs stored in the .faz file can be restored to the database by using Import Runs.
  • Insert the removable drive(s) containing the files into an available USB port on the front of the BioFire Torch. If multiple removable drives are connected to the USB ports on the BioFire Torch Base, select a destination device.
  • On the Browse Runs page, select Options to display the Options menu; then select Import Runs.
  • Note: The software searches the root level of all connected removable drives for any files that contain run data (both .db and .faz) and displays these files on the Select File page.
  • Select the runs needing to be imported (or restored) to start the import process.

NOTE: The operator can stop the import process before it completes by selecting Stop. Any runs that were imported before selecting Stop will be saved in the database.

  • After import completion, select OK to close the dialog. It is now safe to remove the removable drive(s) from the front of the BioFire Torch.

What preventative maintenance is required for my system?

BioFire® FilmArray® Instruments have built-in monitoring systems that alert users when maintenance is required, and therefore do not require preventative maintenance. Periodic decontamination is recommended for general maintenance. If you have any additional questions, please reach out to our Customer Technical Support team or see the Operator’s Manual.

How do I send run files to BioFire technical support for review/troubleshooting while protecting patient information?

  • Plug a removable disk drive into one of the available USB slots on the front of your BioFire Torch.
  • Select the pertinent run in the Browse Runs Tab.
  • Select options.
  • Select Export Anonymized Runs.
  • You will now be able to select the removable disk drive you wish to export the run to.
  • Transfer USB flash drive to a computer with internet access and email it either directly to the Clinical Application Specialist handling your case or to support@biofiredx.com.

By following these instructions you ensure that all PHI (Protected Health Information) is removed from the run data.

How do I configure BioFire Torch modules?

For detailed instructions please see BioFire Torch Operator’s Manual.
The BioFire Torch System Base is preinstalled with the Instrument Configuration application. Once connected physically to the BioFire Torch Base, the Instrument Configuration application allows an operator to add or remove Modules to the BioFire Torch software.
To begin adding or removing modules start the Instrument Configuration Application:

  • Navigate to the Settings toolbar and select Instrument Modules.
  • Select the Instrument Configuration button
    • Note: start initial configuration from the bottom and work up. Modules should be configured to correspond with the physical location(s) on the BioFire Torch.
Adding a BioFire Torch Module:
  • Select the plus icon  for the appropriate location.
  • Use the scroll bar to locate the applicable Module Serial Number and select Blink LED.
  • Use the plus icon to add the appropriate Torch Module.
  • Select Save to save all changes made during this operation.
Removing a BioFire Torch Module:
  • Identify the location configured to Module and check that its status is Idle.
  • Select Remove on the applicable location.
  • Select the Save option to save all changes made during this operation.

For assistance please contact our Customer Technical Support team at:

What do the lights on my instrument mean?

For detailed instructions please see BioFire Torch System Operator’s Manual.

How should I decontaminate/clean my instruments?

For detailed instructions please see Contamination Prevention and Decontamination Technical Note

BioFire recommends a 10% bleach solution for general decontamination. Please see our Contamination Prevention and Decontamination Technical note by clicking the hyperlink above.

Important specifications:

Networking type: Network Connection via TCP/IP
Protocol: ASTM 1394-97
BioFire® FilmArray® Link Interface

What should I do if I encounter software-related errors?

Should you encounter a software-related issue, please reach out to Customer Technical Support at:

Who should I contact if I have questions regarding Laboratory Information Systems (LIS)?

If you have any questions regarding LIS or need assistance interfacing your BioFire system with your LIS provider, please reach out to Customer Technical Support at:

I am trying to develop a driver to interface with a specific LIS provider. Who should I contact?

If you need assistance developing a driver to interface with your LIS provider, please reach out to Customer Technical Support at:


Who do I contact if I have a question about my order?

Please contact Customer Service at salesorders@biofiredx.com or by phone at:

  • +1-801-736-6354 x 1502
  • International Sales: +1-801-736-6354 x 1502

After the Pouch completed, the result was invalid. What does that mean?

If the controls are invalidated, this can be an indication of an instrument error. Please contact Customer Technical Support at:

How do I check on my existing order?

US customers can check the status of an order using the Customer Order Status Tool You will need your customer ID to view an open order.

To obtain your customer ID or for questions related to an order, please contact Customer Service at salesorders@biofiredx.com or by phone at:

  • +1-801-736-6354 x 1502
  • International Sales: +1-801-736-6354 x 1502
  • Military Sales: 1-801-262-3592

How do I order new pouches?

Please contact Customer Service at digitalmarketinginquiries@biomerieux.com or by phone at:

  • +1-801-736-6354 x 1502
  • International Sales: +1-801-736-6354 x 1502

How do I request pouch credits?

  • In the rare event of pouch malfunction or failure you can request that a credit be applied to your account for the price of the pouch lost. When an entire lot has been consumed, please submit your pouch credits via our online portal here: https://www.biofiredx.com/pouch-credit-reimbursement/
  • Alternatively, you may email your pouch failure log to us at support@biofiredx.com (or fax to 801-588-0507).
  • Once received, we will process a pouch credit request for all qualifying pouch failures. After the credit posts to your account, it will be applied to a future invoice balance.

We ask customers to record all pouch failures on a pouch failure log as follows:

    • Pouch or kit lot number of the failed pouch.
    • Reason the pouch was scrapped.
    • Date of each failure (if known).
    • Should a pouch fail due to instrument or software error please include the SN of the instrument the pouch failed on, and a brief description of the error.

(If you are unsure if a particular failure would qualify contact Customer Technical Support at 801-736-6354 option 5)

Issues that qualify for pouch credit:

    • Control failure
    • Failure of the pouch to hydrate
    • Instrument error